
Help Center Article
How to share an Event Calendar
Event Calendars are shared views of the Events Dashboard.
This article explains how to create and share an Event Calendar.
First, you'll want to customize the Dashboard by adding or remove columns and filters.
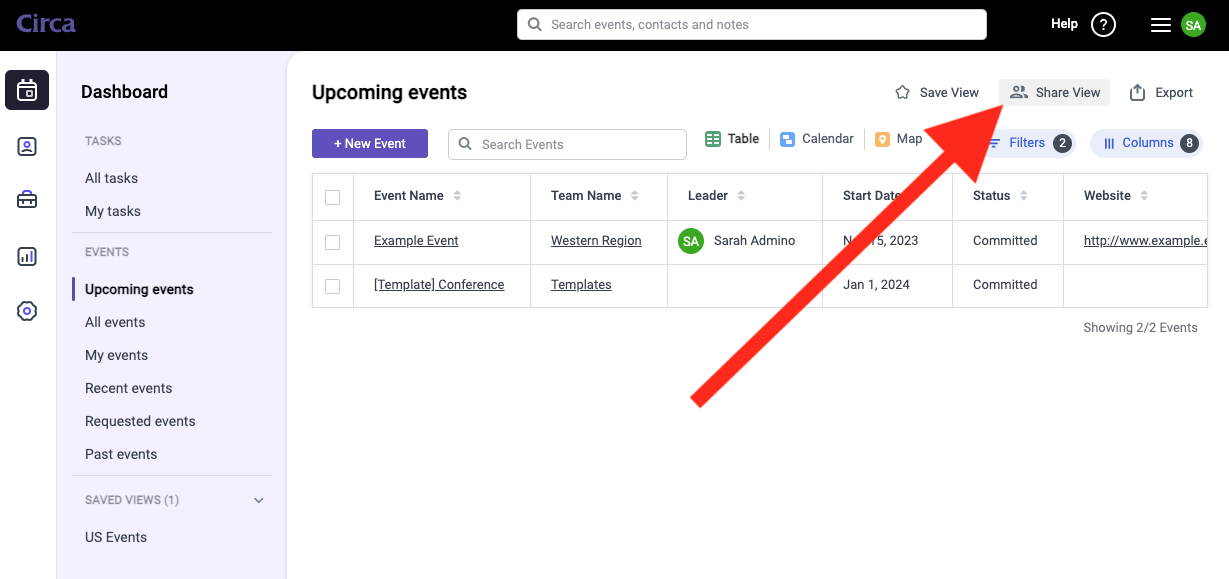
Next, to publish an Event Calendar, click the Share View button at the upper right of the Dashboard.
Next you'll see the Share View window, where you can set the name/title of the Calendar, as well as the URL and Permissions.
Here you can also choose to link Event Briefs and Request Forms from the Calendar.
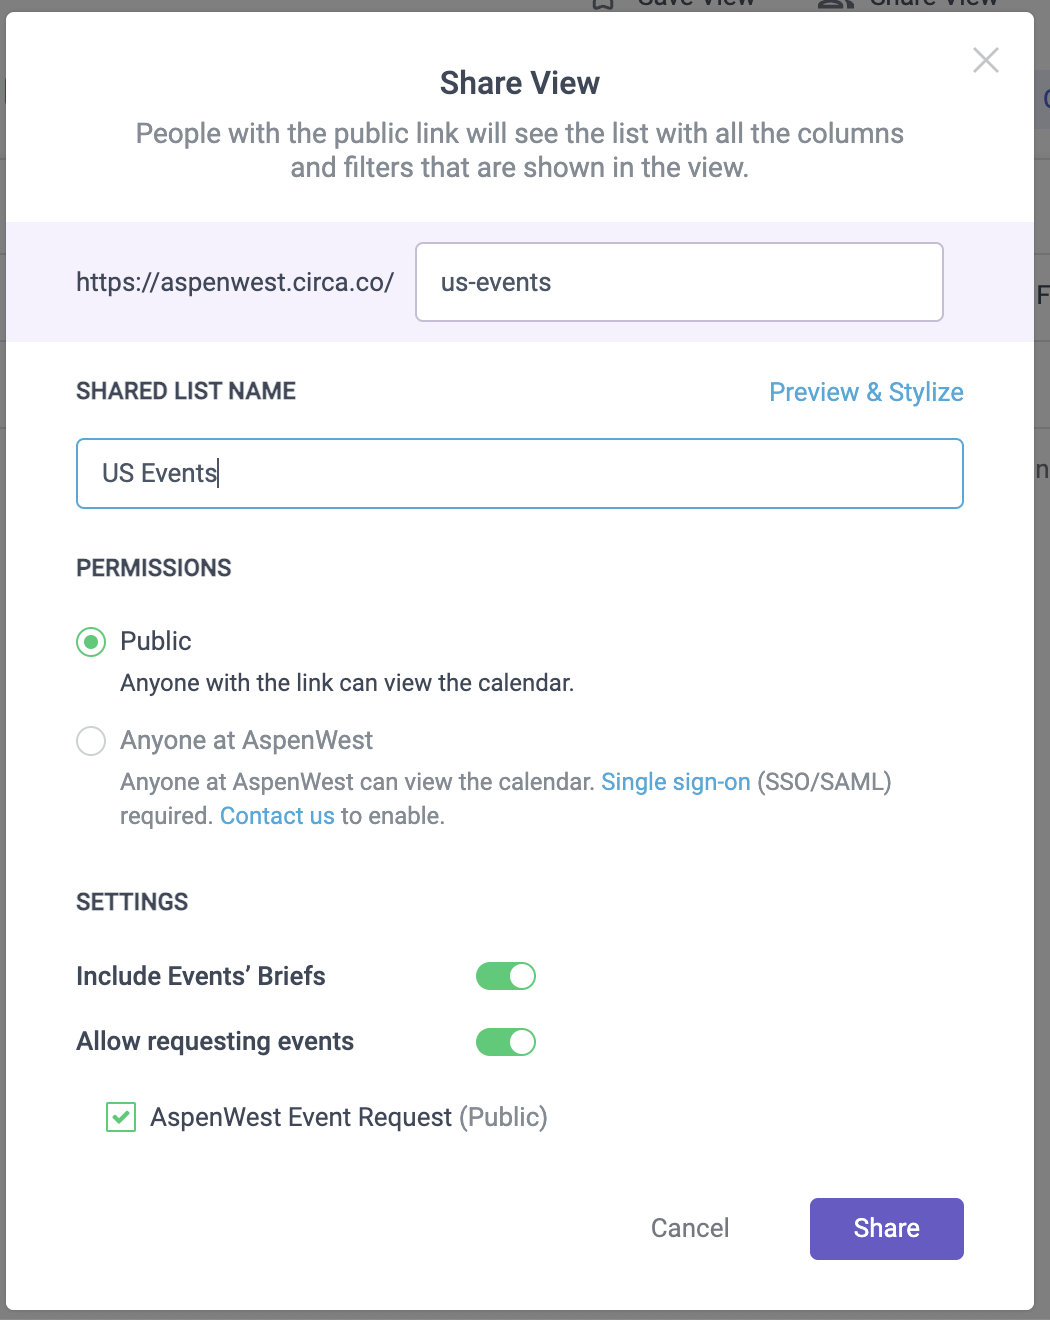
To customize the appearance of the Event Calendar, click on the Preview & Stylize link next the Name field.
The Calendar will open in a new tab in Preview mode, where you can style the font, colors, logo, and background.
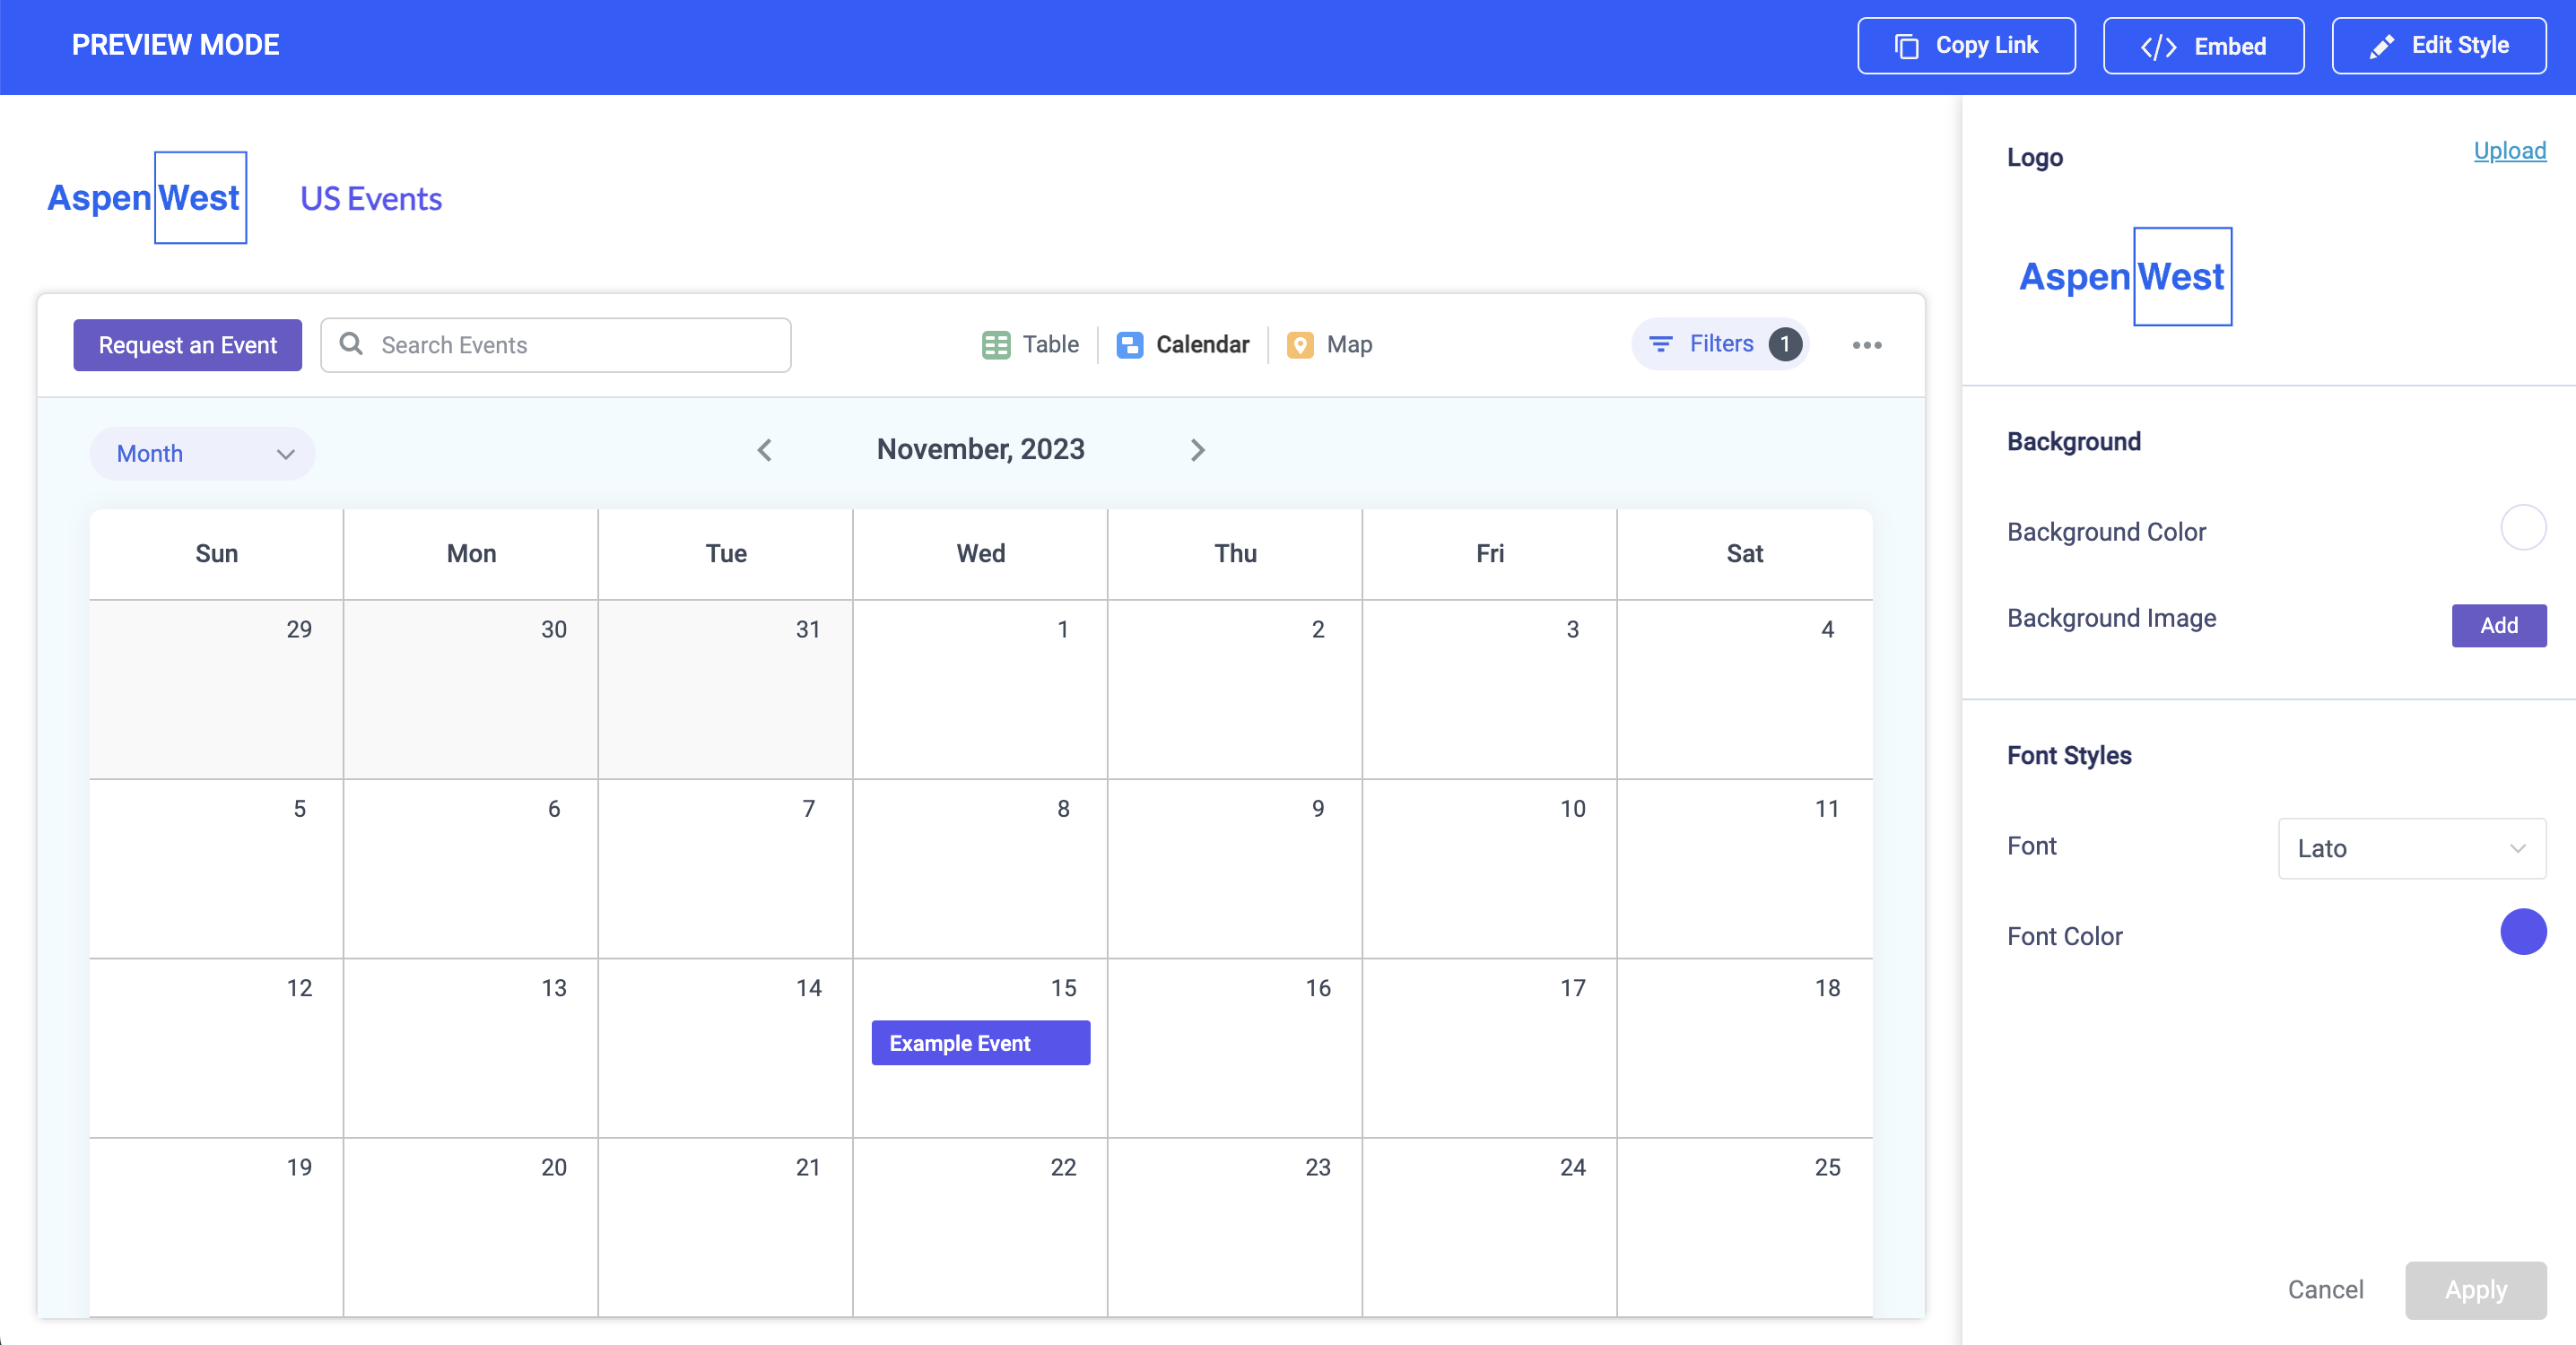
Click the Apply button in Preview mode to save your style changes.
And that's it! Now you've created an Event Calendar and can share the link.