
Help Center Article
How to manage custom fields on Events
You can add, edit, hide, delete, and rearrange custom fields on Events.
Once created, custom fields appear globally on Events. They can be added to Dashboards, Calendars, Briefs, Request Forms and more.
On the Event > Info tab, custom fields and sections appear according to how they are ordered on Event Settings.

To get to Event Settings, click on the gear icon in the sidebar and then Events in the sidebar menu.
There on the Fields tab, you'll see the built-in fields on a grey background, which includes Event Name, Status, Dates, Location, and Description. These are built-in to every Event and cannot be changed.
Below that, you'll see the customizable fields on a blue background, as well as buttons to Add New Field or Create New Section.
Field Types
To add a new field, select the field type and enter the field name.

There are multiple field types available, including field types to select Workspace Members.
Field Options
If the field has pre-defined response options, such as a multi-select field, you can add or edit those options.

Sections
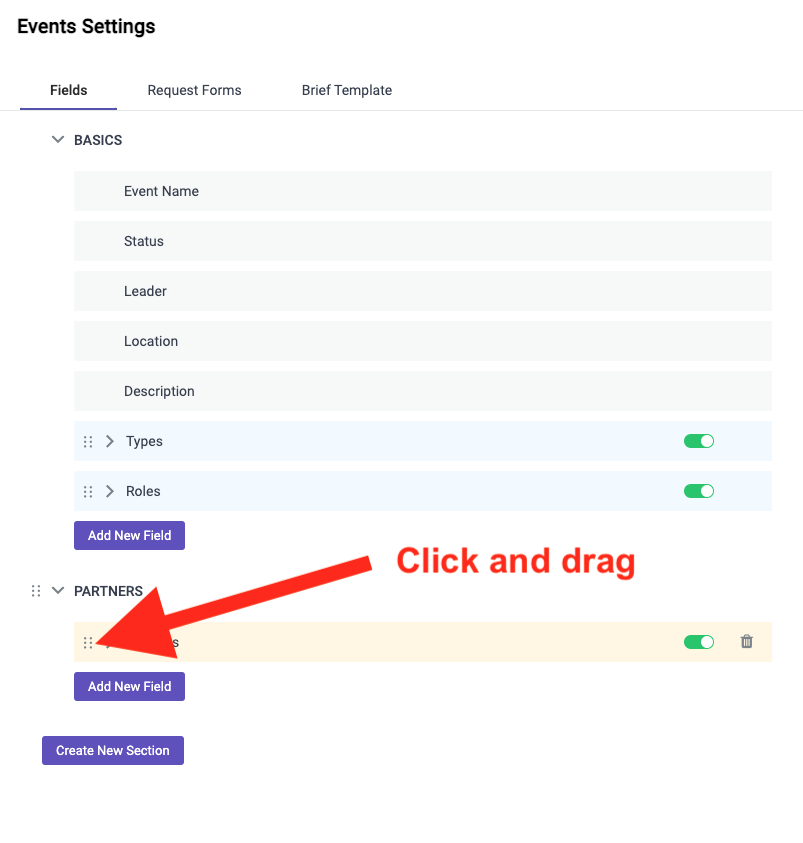
You can also organize custom fields into sections. To move a field, click-and-drag on the six dots to the left of the field or section name.
Hide Fields
You can show or hide custom fields on Events by clicking the toggle to the right of the field name.
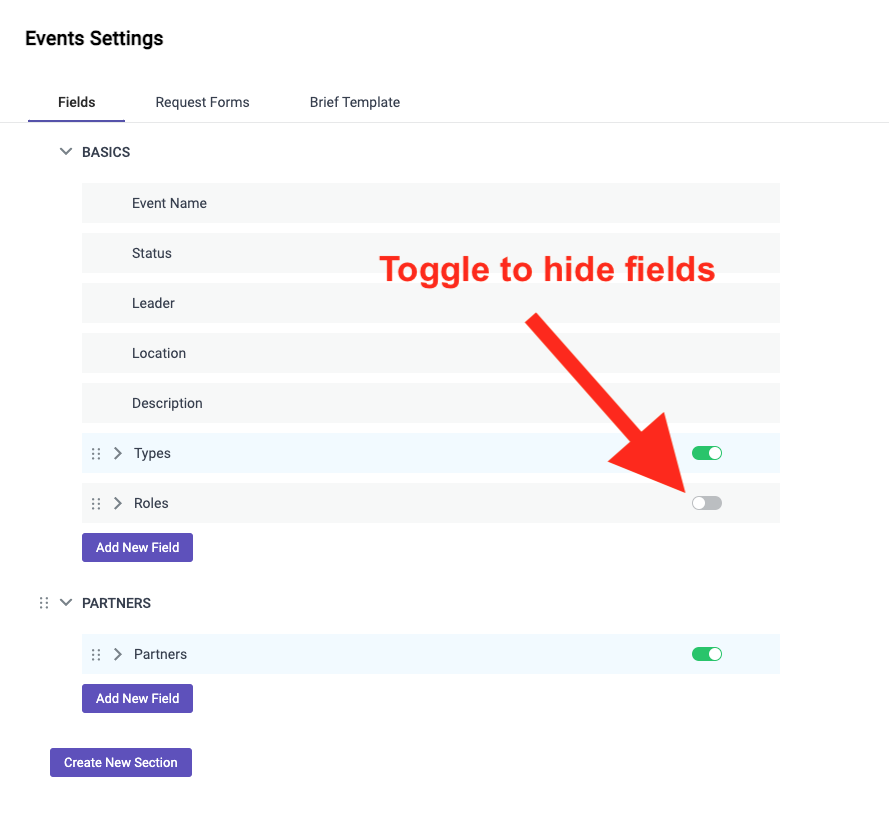
This will hide custom fields globally, so that they will not be visible on the Dashboard, Calendars, Request Forms, etc.
However, hiding will not delete the field or previously entered data on the field. If desired, fields and their corresponding data can be deleted by clicking on the trash can icon.