Help Center Article
How to create an Event Request Form
To create an Event Request Form (ERF), click on the gear icon in the sidebar and then the Events link in the sidebar menu.
Then click on the Request Forms tab in the main area of your screen.
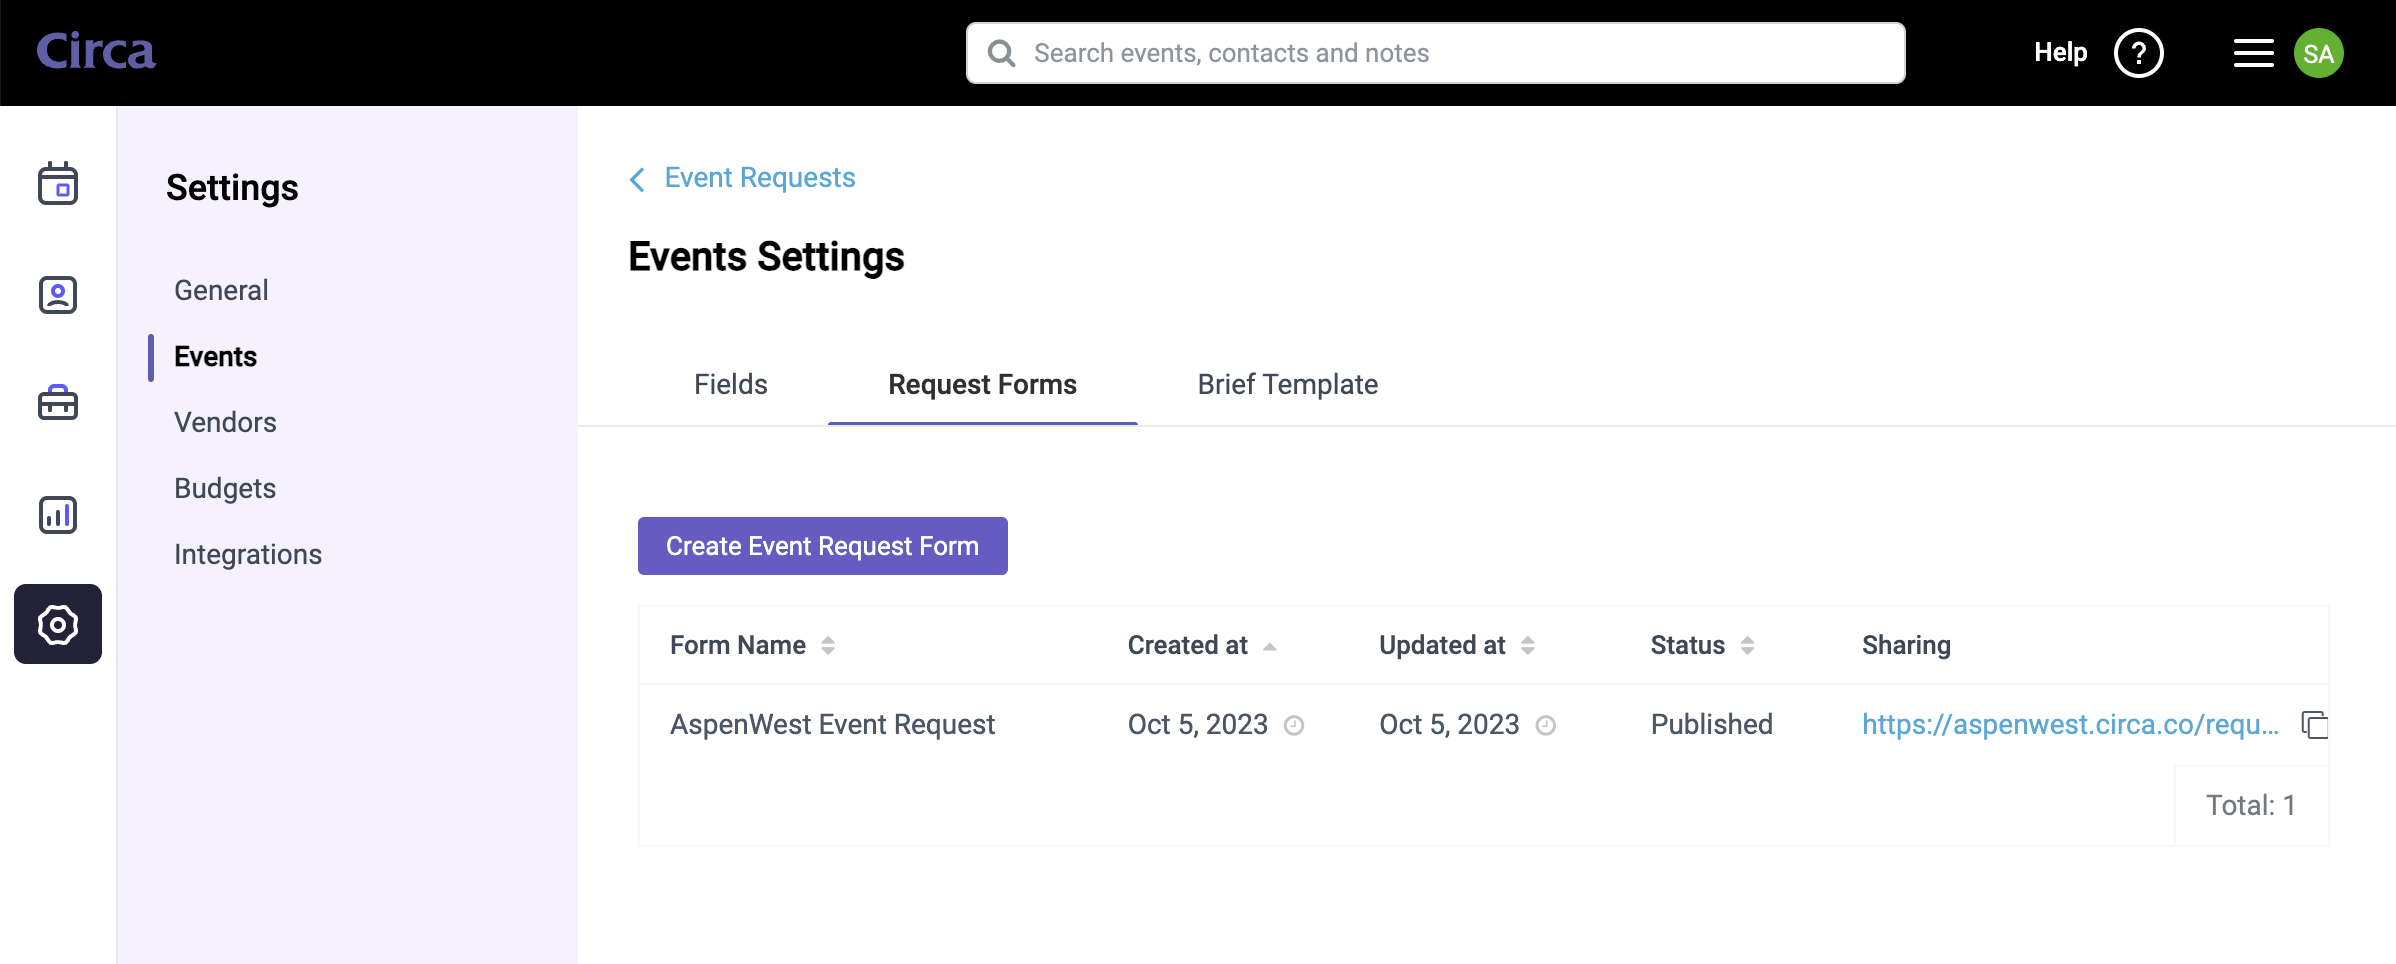
Then click the blue Create Event Request Form button. This will open the ERF Builder.
Questionnaire
The Builder has steps for setting up the Questions, Logic, Settings, Preview.
Header Style
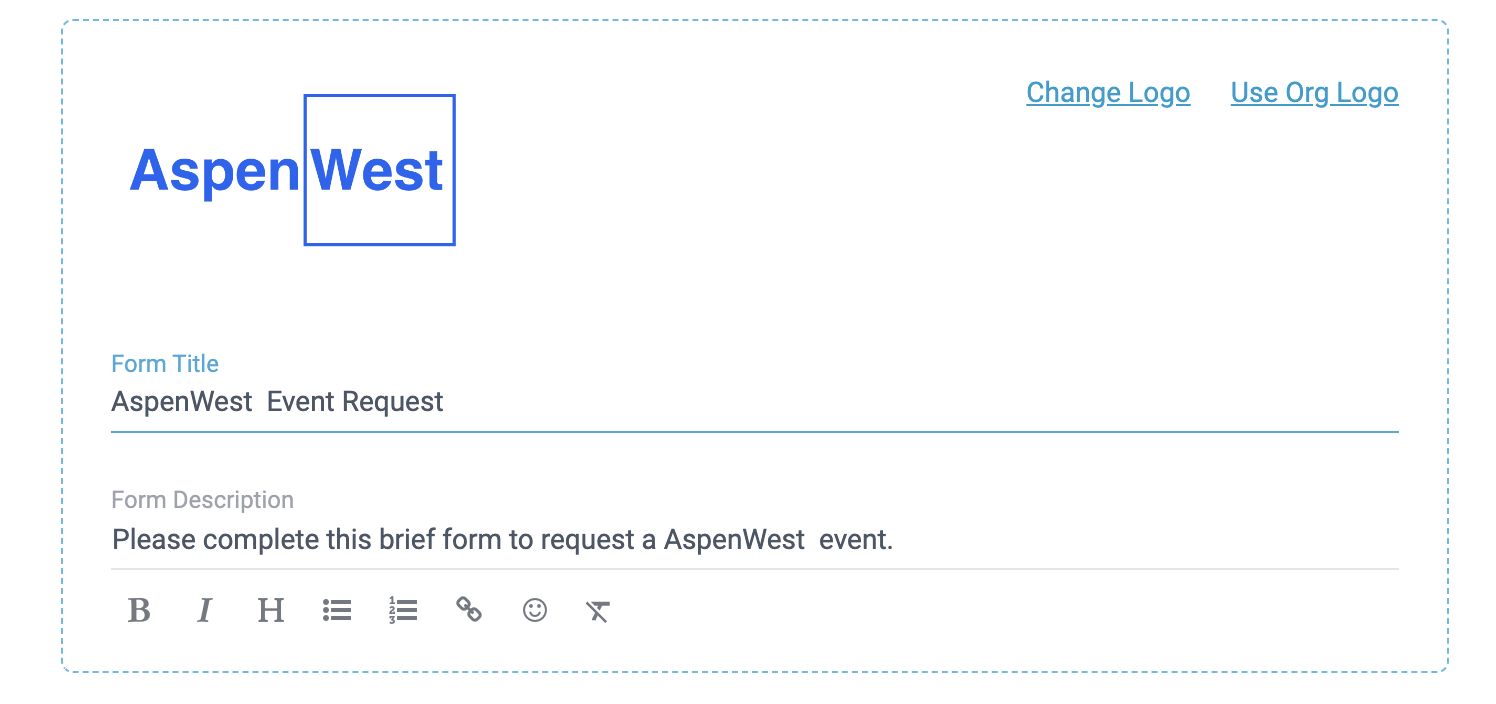
At the Questionnaire step, you'll customize the form header contents and style.
If you have set a default Workspace logo, it will appear in the header, but can be overridden for this particular.
Next, you'll see built-in questions for Name and Email. These are required, but if the viewer of the form is a Workspace Member and is signed in, then these fields will be populated automatically.
Next, you'll get into building the form with sections and questions. Sections allow you to group questions and can be useful at the Logic step.
Question Mapping
Click the green button to add a question, enter the question text and map it to an existing Event field.
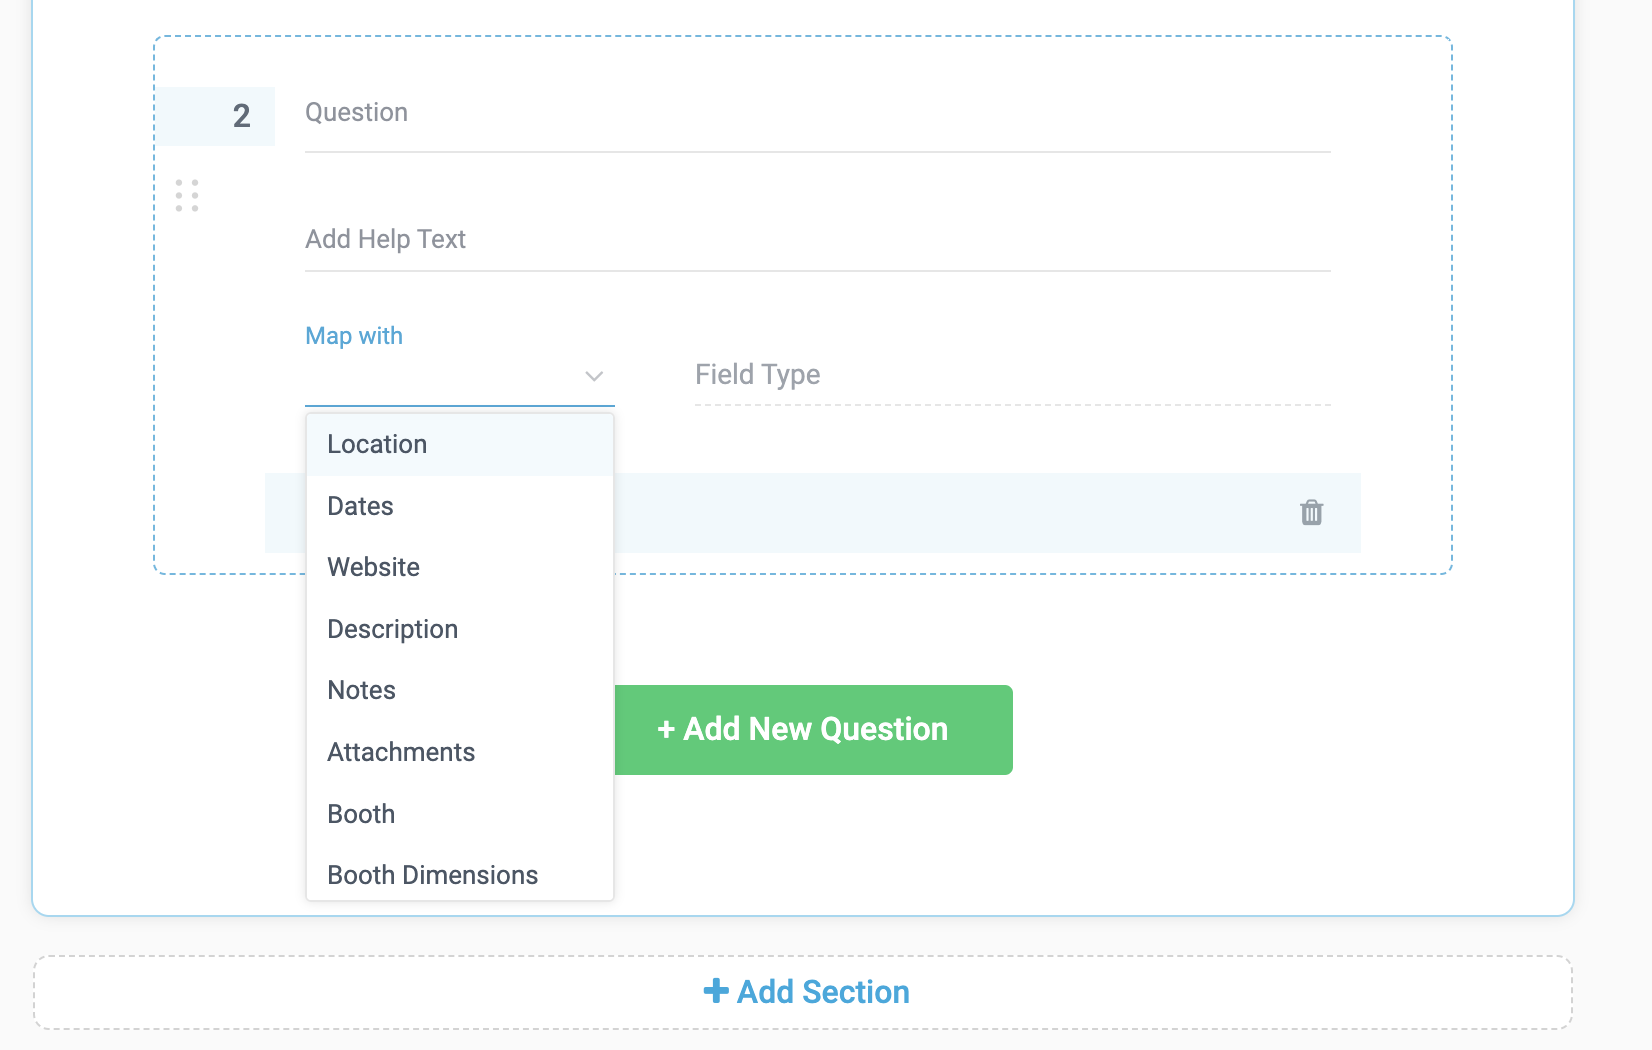
If the field does not yet exist, then you can add it as a custom field in Event Settings > Fields.
Alternatively, you can map your questions to Expenses, Planned Budget or Notes. This will create appropriate objects in the event, when the event request is approved.
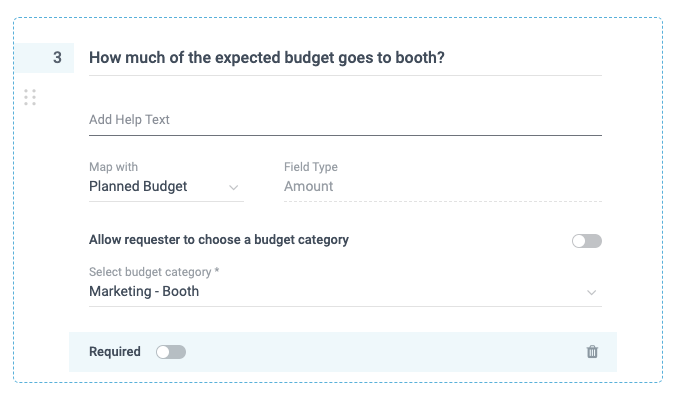
For Planned Budget mappings, you can opt to ask the requester to choose from the list of budget categories or, if your question is specific to a certain category, predefine the category yourself and just ask for an amount.
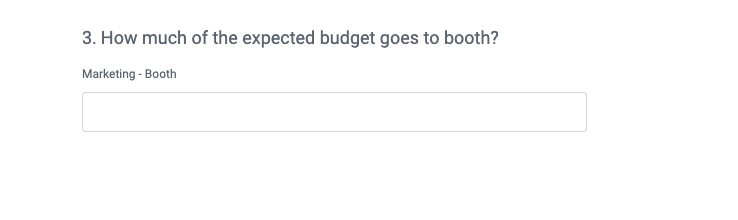
Here is how the question from above is shown, when a budget category is pre-selected.
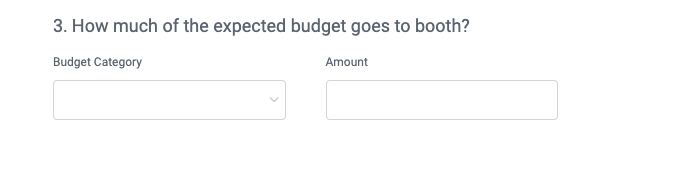
Here is how the question from above is shown, when a budget category is not pre-selected and requester needs to choose from the list of available categories.
Mapping a question to Expenses has similar setup options but in this case, you are able to opt to ask or skip the Expense Name value.
When you have added all your sections and questions to the form, click next to proceed to the Logic setup.
Form Logic
In the Logic step, you can setup the logic to show or hide questions and sections, based on the responses to previous questions.
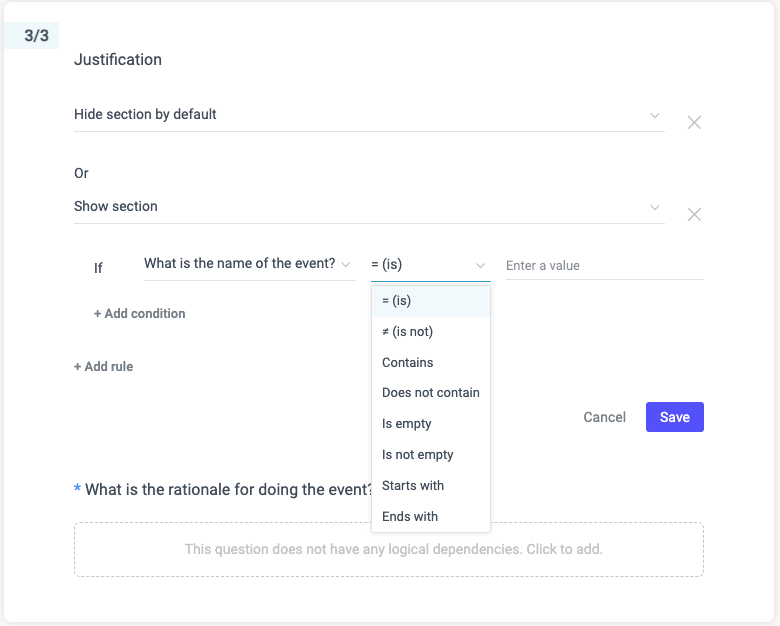
There are conditional operators for equivalence, presence, contains and starts/ends with.
In the example above the section is hidden, when the form is first shown, and becomes visible, when an appropriate condition on "What is the name of the event?" question answer is satisfied.
It is possible to add multiple rules and conditions to the same section/question to set up more complex logical dependencies.
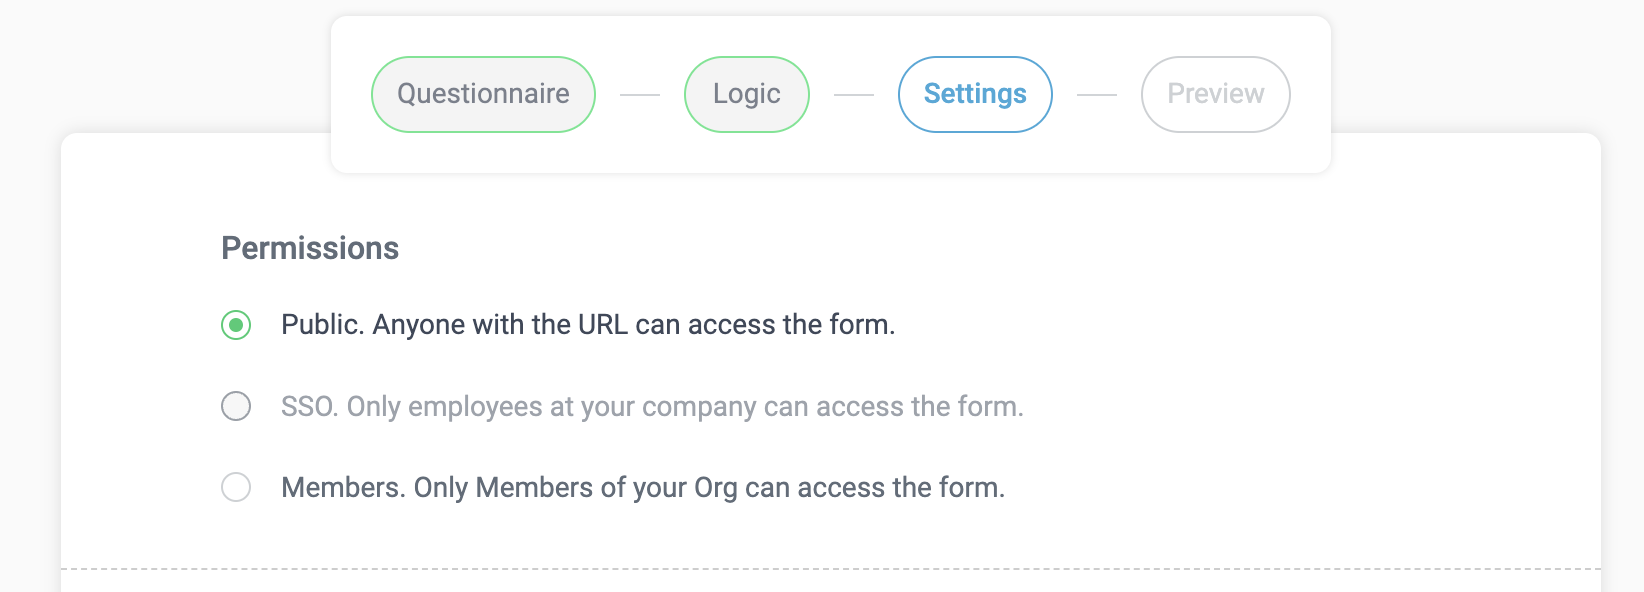
Settings
On the Settings step of the ERF Builder, you can set the access Permissions and Reviewers, as well as customize the emails that are sent during the review process.
Permissions
Event Request Form access can be set to Public, SSO, or Workspace Members only.
Reviewers
As a Workspace Admin, you can assign Team Members to be Reviewers on an Event Request Form.
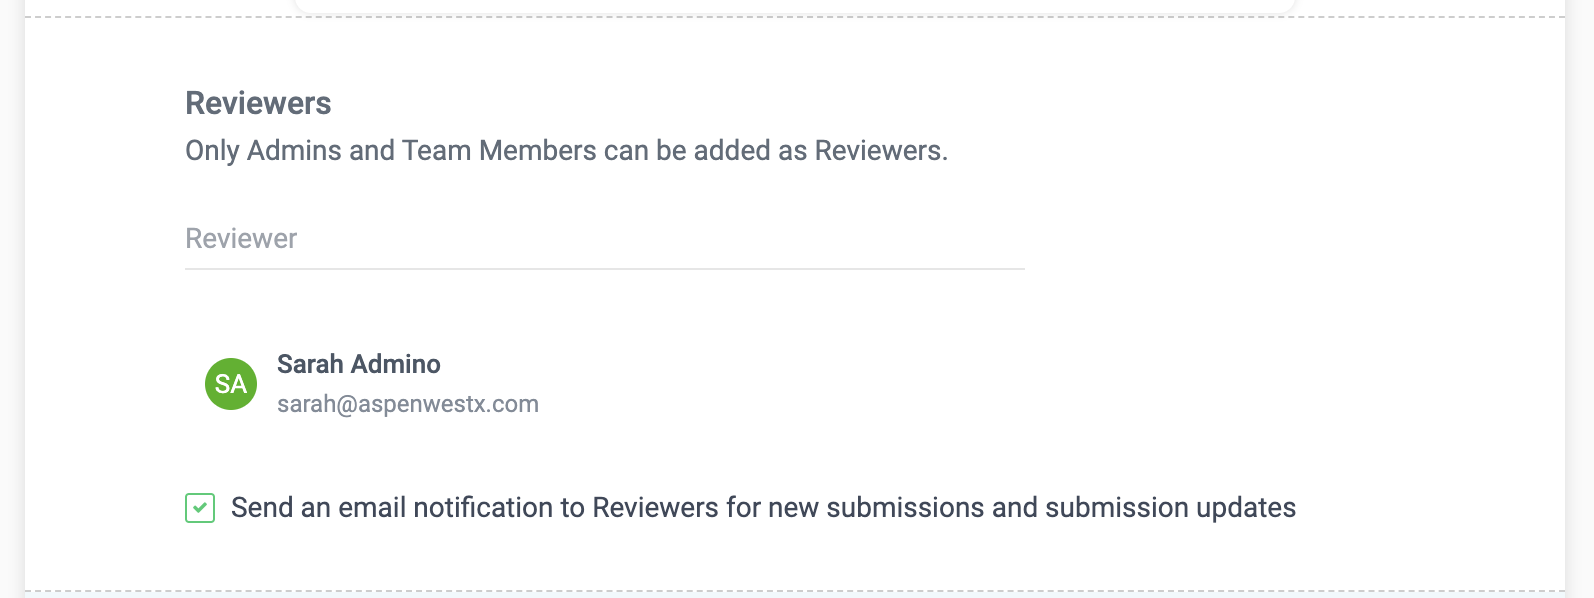
Note that Team Members will only be able to approve Events for their Teams. Selecting a Team is a required part of the ERF approval process.
Checklist Template
Automatically import Checklist into the event, when it is approved, using the selected template. You can automatically set the Task Due Dates to be the same of days away from the Event Start Date as they are in the Template.
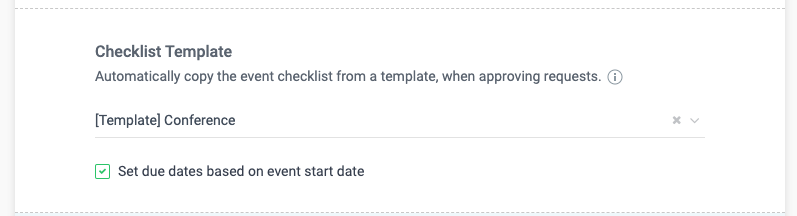
Note that the Reviewer, when approving the event request, can choose a different template and override selected default template for that specific event.
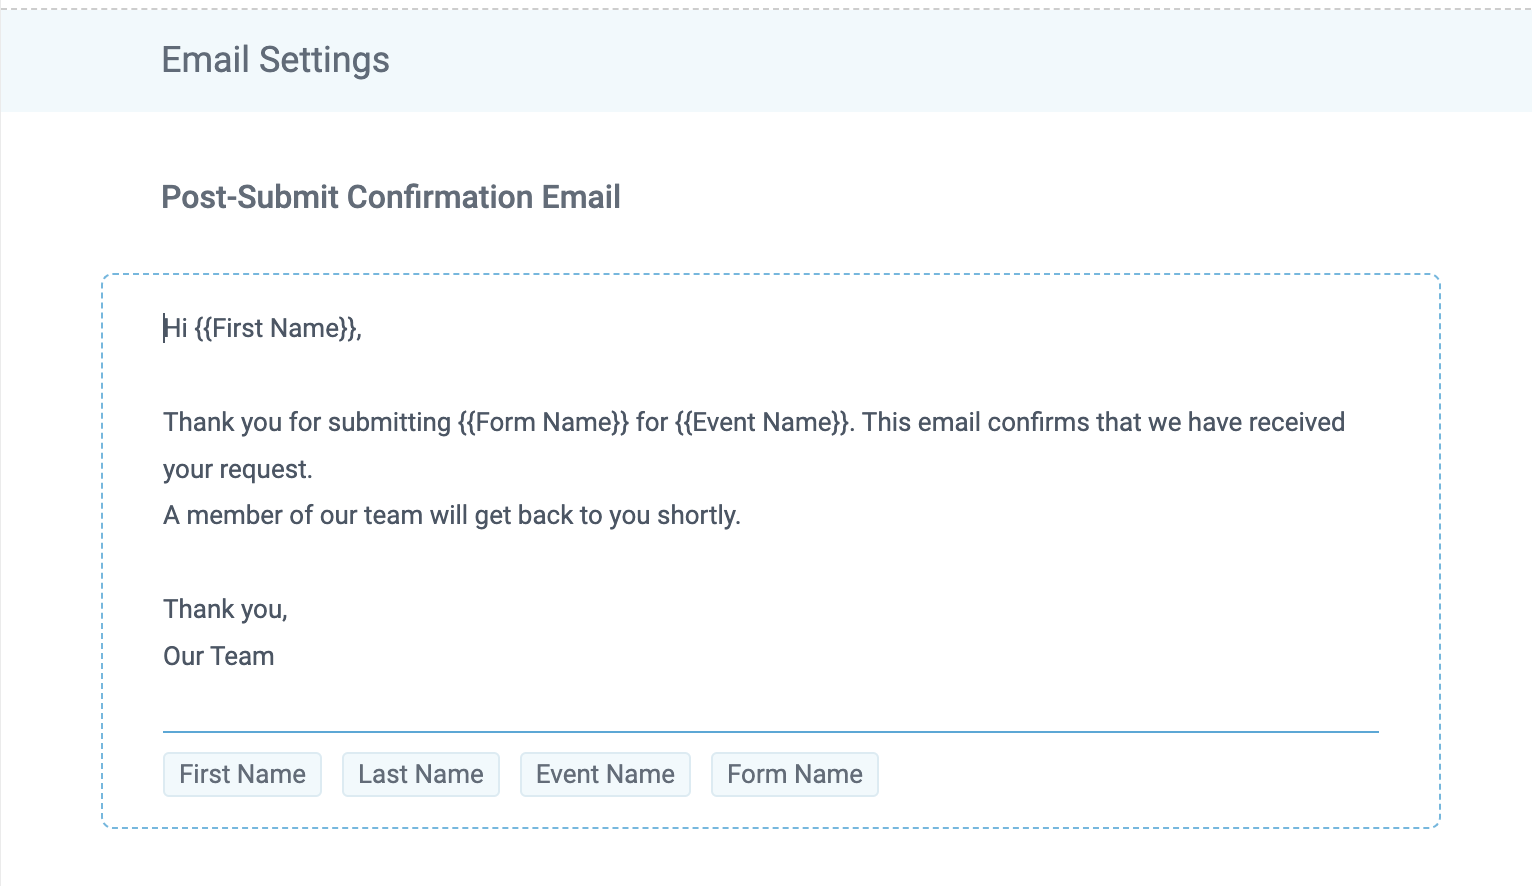
Customize Email
Email Settings include variables for like {{Event Name}} that you can include in the email body.